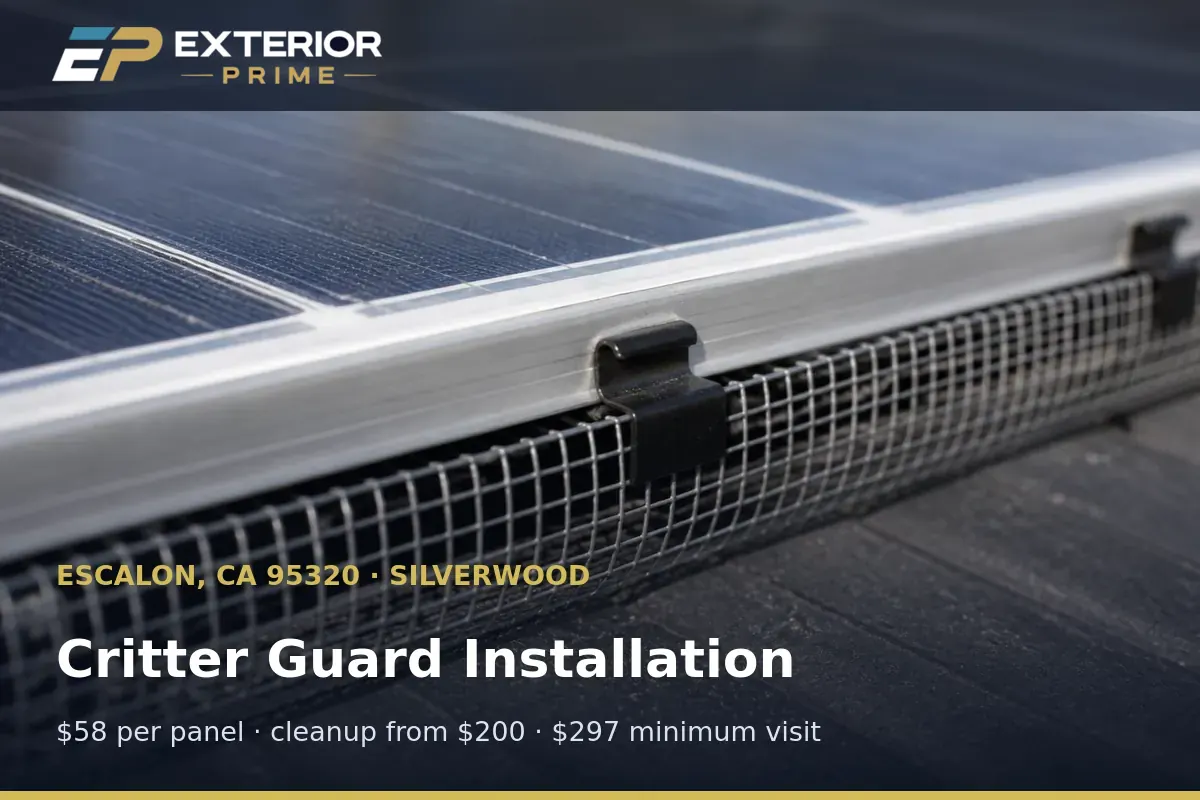
solar panel critter guard installation Escalon

    Critter Guard Installation Process for Escalon Solar Arrays

    How a critter guard gets installed determines whether it lasts through years of orchard-adjacent wildlife pressure or fails at the first determined squirrel. Escalon 95320 homeowners near Silverwood and Rocha Estates ask us about the process almost as often as the price, and hot, dry summers in San Joaquin County make a rushed install fail even faster.

    Process length
    7 steps, typically one visit
    Price
    $58 per panel
    Typical Escalon total
    $750–$1,400
    Warranty
    5-year workmanship on clips and seams

    Serving Escalon 95320 — Brentwood Estates, Melrose Park, Reed Manor, Rocha Estates, Silverwood, Vintage Estates

    Direct answer for Escalon, CA homeowners

    Exterior Prime's critter guard installation process runs seven steps: survey, measurement, mesh cutting, clamping, obstruction routing, tension checking and photo documentation. Installation costs $58 per panel with a $297 standalone visit minimum, and a typical 13-to-24 panel Escalon 95320 roof near Melrose Park or Brentwood Estates takes a single visit for $750 to $1,400.

    Escalon, CA 95320 · Pricing reviewed

    Solar Panel Critter Guard Installation in Escalon — answered before you scroll

    Most single-plane Escalon arrays of 13 to 24 panels go through all seven steps in a single visit lasting a few hours. Retrofit arrays with irregular module spacing or split roof faces sometimes require additional measurement time, which is scoped in the written quote before the visit begins.

    Book Escalon solar bird proofing →See the Escalon maintenance planSee how Escalon solar panel cleaning works

    Copy link to this answer: How long does the full critter guard installation process take on Escalon arrays?

    The nest is photographed and noted in the written quote, and cleanup is priced separately starting at $200 depending on debris volume. Active nests with fledglings are worked around rather than disturbed until the young naturally leave the cavity.

    Book Escalon solar bird proofing →Compare Escalon packages & pricingSee how Escalon exterior cleaning services works

    Copy link to this answer: What happens during the survey step if you find an active nest around Escalon?

    Critter guard mesh runs a heavier gauge than standard bird mesh, which holds its shape less forgivingly during cutting, so a mismeasured section shows up as a visible gap once clamped. Precise measurement of rail spacing and eave transitions is what keeps rodents from finding that gap later.

    Book Escalon solar bird proofing →Compare Escalon packages & pricingSee how Escalon roof cleaning works

    Copy link to this answer: Why does measurement matter so much for a critter guard specifically on an Escalon roof?

    Yes, the final step in the process is a full tension check across every clamped panel, confirming no gap exceeds the clearance a rodent or bird could exploit. This catches the rare loose corner on-site rather than leaving it for a homeowner to discover months later.

    Book Escalon solar bird proofing →Compare Escalon packages & pricingSee how Escalon solar panel cleaning works

    Copy link to this answer: Do you check for gaps after installation is finished?

    The core seven steps are the same, but critter guard installation pays extra attention to eave and gutter transitions where a climbing rodent could enter, and uses a heavier mesh gauge that requires more careful cutting during preparation. Both processes end with the same tension check and documentation steps.

    Book Escalon solar bird proofing →Compare Escalon packages & pricingSee how Escalon gutter cleaning works

    Copy link to this answer: Is the installation process different for a critter guard versus standard bird mesh?

    You receive photo documentation of the completed installation from multiple angles along with written five-year workmanship warranty paperwork covering clips and seams. This record is useful both for your own property file and if a warranty question comes up down the line.

    Book Escalon exterior cleaning services →Compare Escalon packages & pricingSee how Escalon exterior cleaning services works

    Copy link to this answer: What documentation do I get after the installation is complete?

    Book Now (209) 821-1212

    Still have a question about your Escalon property? Call and a trained Exterior Prime professional will walk you through it.

    Check your roof: signs birds are already living under the array

    Every item below is something an Exterior Prime professional looks for on a Escalon, CA 95320 roof survey. Two or more usually means cleanup is part of the job.

    • Visible gap forming at an eave transition

      Measurement step likely skipped or rushed

    • Mesh sagging under its own weight

      Clamp spacing was set too wide during installation

    • Heat buildup reported near covered conduit

      Obstruction was sealed over instead of routed around

    • Loose corner found after a windy day

      Final tension check was likely skipped

    • No photo record provided after installation

      Documentation step wasn't completed properly

    Exterior Prime professional fastening critter guard clips along a Silverwood rooftop solar array in Escalon, CA
    Silverwood install in Escalon: clip spacing checked by hand so no span is wide enough for a bird to push the guard open.

    A

    Step One: Surveying Escalon Arrays For Bird And Rodent Activity

    The initial visit checks the array cavity, eave transitions and nearby vegetation for signs of either bird or rodent pressure, usually within the first 20 minutes on the roof.

    Before any mesh gets cut, Exterior Prime professionals walk the roof to log panel count, plane breaks, conduit routing and any existing signs of occupancy, whether that's droppings, chew marks or nesting debris. On Escalon 95320 properties bordering orchard rows near Reed Manor and out toward Jones Road, this survey often turns up evidence of both bird and rodent activity in the same cavity.

    Photos are taken of every occupied pocket and any hardware that will need special routing, like microinverter housings or splice brackets. This documentation becomes part of the written quote handed to the homeowner before work begins, so there's no surprise scope change mid-installation.

    The survey also checks ground-level access points, since a critter guard installation needs to seal not just the array perimeter but any spot where a climbing rodent could reach the roof edge from a downspout or nearby tree limb, a common issue on Rocha Estates lots backing onto almond orchards near Main Street.

    B

    What Happens During Steps Two And Three: Measurement And Mesh Preparation?

    Rail spacing and frame lip depth are measured precisely before mesh is cut to the array's true outline, not a stock width, since a gap of even 1 inch can let a rodent through.

    Measurement is where a critter guard installation earns or loses its long-term durability. Rail spacing, frame lip depth and eave transition angles all get recorded, since a mismeasured section is the most common cause of a gap forming within the first year.

    Mesh gets cut to the array's actual perimeter using those measurements rather than a fixed roll width, which matters more on retrofit arrays common in Escalon's Reed Manor and Melrose Park neighborhoods where module spacing can vary from one plane to the next.

    The heavier gauge used for critter guard mesh also needs slightly different handling during this cutting step, since it holds its shape less forgivingly than lighter bird-only mesh, and tule fog moisture across a San Joaquin County winter can highlight even a small gap within weeks.

    C

    Steps Four And Five: Clamping And Obstruction Routing

    Stainless spring clamps go on at consistent spacing, roughly every 12 inches, while conduit and racking hardware are individually routed around, never covered.

    Clamping is done with stainless spring clips spaced roughly every 12 inches along the accessible frame perimeter. No screws or adhesive touch the panel glass, module frame threading or roof deck at any point in this step, which is what keeps solar and roofing warranties untouched.

    Obstruction routing happens simultaneously with clamping rather than as an afterthought. Conduit runs, microinverter housings and rail splice brackets are individually worked around with custom mesh cuts, since covering them over would trap heat and reduce airflow under the array during a hot Escalon summer.

    This is also where the eave transition gets special attention on a critter guard job specifically, since that lower edge is the most common point where a climbing rodent finds an unsealed gap that a bird-only installation might have left open, particularly on rural Escalon parcels off Escalon-Bellota Road.

    D

    Steps Six And Seven: Tension Check And Documentation

    Every panel gets a final tension check before photos and warranty paperwork close out the visit.

    Before the visit wraps up, every clamped section is checked for tension across its full length, confirming no gap exceeds the clearance a rodent or bird could exploit. This step catches the rare loose corner before it becomes a callback.

    Photo documentation is taken of the completed installation from multiple angles, giving the homeowner a record for their property file and giving Exterior Prime a baseline to reference if a warranty claim comes up later.

    The five-year workmanship warranty on clips and seams is explained and provided in writing at this point, along with a reminder that a rinse-down after Escalon's hulling dust season in September and October helps keep the mesh clear for continued airflow.

    Materials and method, spelled out

    What Exterior Prime professionals bring to a Escalon roof, and why each choice matters in the Central Valley.

    Escalon bird proofing materials and method specification
    Survey documentationPhotos of every occupied pocket before installation
    Measurement toolsRail spacing, frame lip depth and eave angle recorded on-site
    Mesh cuttingCustom-fit to the array's true perimeter, not stock width
    Clamp spacingStainless spring clips roughly every 12 inches
    Final checkFull tension test across every panel before sign-off

    The Escalon bird year, month by month

    Timing changes what this job costs more than any other factor a homeowner controls.

    1. December–March

      Ideal window; low debris volume speeds up the survey step

    2. April–July

      Active nests documented and worked around during survey

    3. September–October

      Hulling dust noted during survey for post-install rinse planning

    4. Year-round

      The seven-step process runs the same regardless of season

    Critter Guard Installation Pricing In Escalon

    Installation pricing follows the same per-panel structure as standard exclusion work, since the process steps above apply regardless of array size.

    • $58

      Critter guard installation, per panel

      Includes mesh, clamps and full seven-step process

    • $297

      Standalone visit minimum

      Covers mobilization, insurance, documentation

    • $750–$1,400

      Typical Escalon residential total

      13–24 panels, most single-plane roofs

    • From $200

      Existing debris cleanup add-on

      Addressed during the survey step if needed

    • $1,450–$2,100

      Large or split-plane array (25+)

      Additional measurement and routing time

    Standalone Exterior Prime visits in Escalon start at $297, covering the drive out State Route 120, commercial-grade equipment, insurance and photo-verified documentation. Lower add-on rates apply when the work rides along with another service on the same trip.

    The seven-step critter guard installation process in Escalon

    1. 1

      Roof survey logging panel count, plane breaks and any existing bird or rodent activity.

    2. 2

      Measurement of rail spacing, frame lip depth and eave transition angles.

    3. 3

      Mesh cut to the array's true perimeter, sized for the heavier critter-guard gauge.

    4. 4

      Stainless spring clamps set roughly every 12 inches along the accessible edge.

    5. 5

      Conduit, microinverters and racking hardware individually routed around.

    6. 6

      Full tension check confirming no gap remains open at any point.

    7. 7

      Final photo set captured and warranty documents signed off before Exterior Prime professionals wrap the visit.

    What Goes Wrong When Installation Steps Are Skipped

    • Skipping the measurement step leads to gaps at eave transitions within months.
    • Rushed clamping with wide clip spacing lets mesh sag under its own weight.
    • Obstructions covered instead of routed around trap heat and reduce airflow.
    • No final tension check leaves loose corners that a callback later has to fix.

    What Escalon homeowners get

    • A documented seven-step process catches gaps before they become callbacks.
    • Custom measurement handles retrofit arrays with irregular module spacing.
    • No roof penetrations at any step keep solar and roofing warranties intact.
    • Photo documentation from the final step supports future warranty claims.
    • Five-year workmanship warranty backs the completed installation.

    Solar Panel Critter Guard Installation cost, fees and travel in Escalon

    Who pays for water use during solar panel critter guard installation in Escalon?
    We do. Exterior Prime professionals arrive self-sufficient and the quoted Escalon figure includes water handling and responsible runoff control. Nothing is back-billed to you afterwards for consumables, which keeps the quoted total the final total. The rate quoted here for solar panel critter guard installation is $58, covering critter guard installation, per panel.
    What happens if solar panel critter guard installation runs longer than planned in Escalon?
    The quoted price stands. If a Escalon job takes our professionals longer than estimated for reasons we could see at the walkthrough, that is our problem to absorb — you are not billed hourly, so overruns do not become your cost. The rate quoted here for solar panel critter guard installation is $58, covering critter guard installation, per panel.
    Are there added fees for solar panel critter guard installation in Escalon?
    None. Critter guard installation, per panel is $58 and a standalone Escalon visit starts at $297 — that figure already absorbs travel, water handling and disposal. No fuel surcharge and no equipment fee appear on an Exterior Prime invoice. The rate quoted here for solar panel critter guard installation is $58, covering critter guard installation, per panel.

    Solar Panel Critter Guard Installation service area in Escalon, CA 95320

    Exterior Prime professionals cover all of Escalon inside ZIP 95320, from downtown Main Street out to the orchard parcels along Escalon-Bellota Road and the Stanislaus River line toward Oakdale.

    Exterior Prime

    Manteca, CA 95336 · Serving Escalon, CA 95320 in San Joaquin County, California

    (209) 821-1212

    Landmarks we route around

    • Main Street & California Street (downtown Escalon) — Our central reference point for scheduling in-town stops.
    • Escalon Community Park — Neighborhoods east of the park are typically same-week bookings.
    • Escalon High School — The residential blocks north of campus are one of our densest route clusters.
    • State Route 120 & McHenry Avenue — The traffic-film corridor where road grime shows first on driveways and fences.
    • Escalon-Bellota Road walnut blocks — Orchard-adjacent homes that pick up hulling dust every September.
    • Stanislaus River crossing toward Oakdale — Our eastern boundary before Oakdale and Riverbank routes begin.

    Directions to Escalon

    From Manteca
    Take State Route 120 east about 12 miles to McHenry Avenue, then north into downtown Escalon — roughly a 20-minute drive.
    From Ripon
    Head south on Jack Tone Road to SR-120, then east about 9 miles into Escalon — about 15 minutes.
    From Oakdale
    Follow SR-120 west across the Stanislaus River roughly 7 miles into Escalon — about 12 minutes.
    From Modesto or Salida
    Take McHenry Avenue north about 14 miles straight into central Escalon — roughly 25 minutes.
    Open driving directions in Google Maps

    Neighborhoods inside the route

    • Downtown Escalon
    • Escalon Community Park area
    • Escalon High School blocks
    • McHenry Avenue corridor
    • Escalon-Bellota Road
    • Jones Road

    Escalon sits about 20 minutes from our Manteca base, so visits here are scheduled on the same SR-120 route as Ripon and Oakdale work.

    Instant Quote

    Get Your Instant Quote

    Tell us a few quick details about your solar bird proofing project and get a fast, no-pressure quote from Exterior Prime — typically within one business day.

    Fast Response

    Most quotes returned within one business day.

    Photo-Verified Work

    Before/after photos on every job.

    Licensed & Insured

    Trained Exterior Prime professionals.

    No payment required to get a quote.

    More Escalon bird and pigeon proofing pages

    Solar Panel Critter Guard Installation in cities near Escalon

    Same trained Exterior Prime professionals and the same flat-rate pricing, with local detail written for each city.

    Ready to get started?

    Book Your Premium Wash Today

    Fast scheduling. Photo-verified results. Clear pricing from the start.