01
Why start every Salida installation with a wiring inspection?
Every Salida critter guard installation starts with a wire-by-wire inspection of conduit, junction boxes and bypass diodes, because installing mesh over existing chew damage hides a fire hazard instead of fixing it.
Technicians walk the full underside of the array with a flashlight and check each connector, microinverter, junction box and cable run for insulation that has been gnawed, cracked or pulled loose. This step matters most on homes that already reported a production drop, since a chewed connector often looks intact from a distance but fails intermittently under load and shows up as a hot spot on the thermal check.
In Salida, part of the Central Valley and Stanislaus County service area, this inspection also flags heat-related wear that has nothing to do with animals, since July and August roof surfaces can sit well above 100°F and accelerate insulation cracking near older mounting hardware. Separating heat wear from gnaw damage during this step avoids an unnecessary electrical callback later.
Any damage found gets photographed within minutes and reported to the homeowner before installation continues, since some repairs need an electrician rather than an exclusion technician. Exterior Prime professionals never fasten mesh over a wire, roof penetration, or exposed conduit run they have not personally checked.
02
Step two: measuring for a corner-tight mesh layout
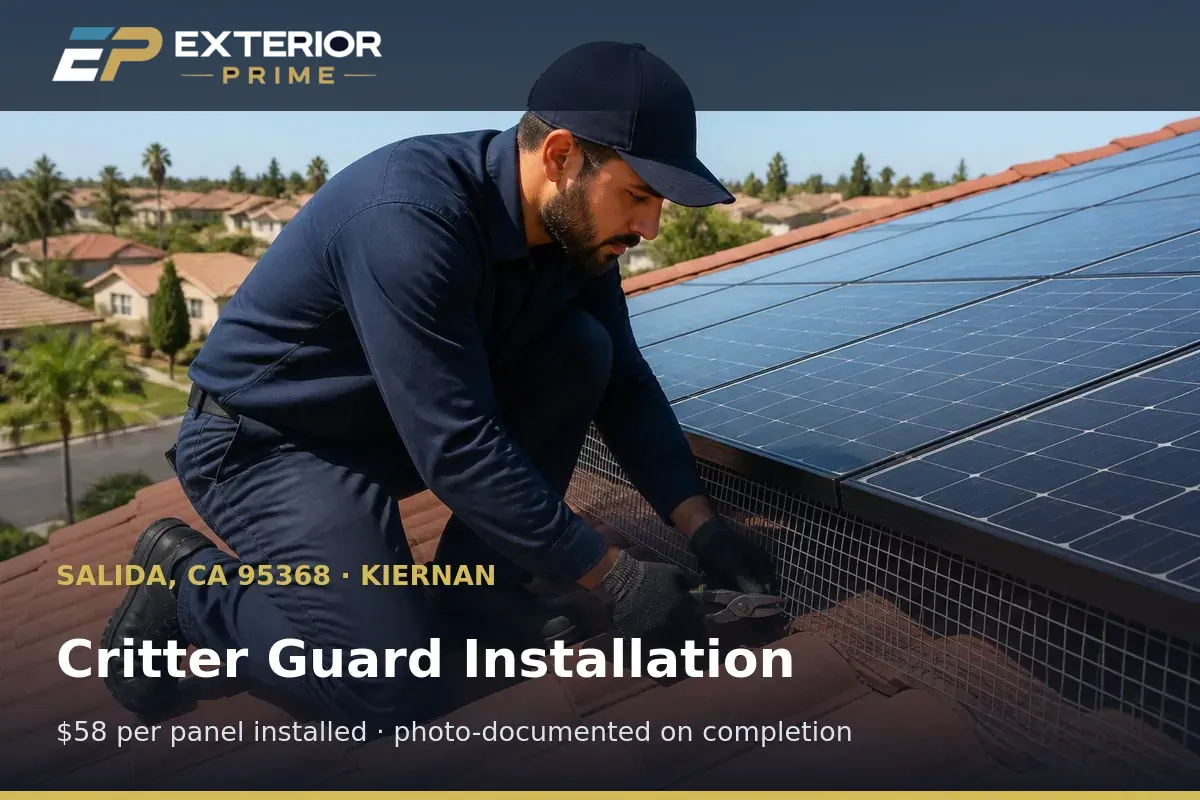
A correctly measured critter guard wraps all 4 corner returns on the racking, not just the long straight edges of the array.
Technicians measure each panel row and note where the racking rail meets the roof deck, because that junction is the most common entry point for a roof rat squeezing along the underside of an array in Salida's Kiernan and Prescott neighborhoods. A layout that only covers the visible front edge leaves this junction open.
Mesh panels are then cut to size rather than stretched from a single roll, which keeps tension even across uneven older stucco-tract roofs from the 1970s through 1990s as well as the newer builds in Sisk Ranch. Even tension prevents sagging that would otherwise create a new gap within a year.
This measuring step is also when technicians note any of the array's roof penetrations, vent stacks or conduit runs that need a custom cutout in the mesh, so the finished guard sits flush around every perimeter standoff instead of tenting up around an obstruction.
03
Step three: fastening and checking gnaw resistance
Frame clamps rather than adhesive hold the mesh in place, because clamps resist the flexing that Salida's summer heat causes in glued trim.
Each clip is torqued to hold the mesh tight against the panel frame without stressing the frame itself, and technicians test a sample section by hand before moving to the next row. This hand-check step catches loose clips immediately rather than during a return visit months later.
Corner returns get a second fastening pass specifically because that is where rodents apply the most pressure trying to find a way back in. A critter guard that passes inspection on the straight runs but skips this second pass at the corners is the most common cause of a callback within the first year.
Technicians also confirm the mesh gauge matches what was quoted, since a homeowner comparing quotes should expect the half-inch or smaller weave that actually resists gnawing rather than a wider bird-only mesh substituted to save material cost.
04
Step four: confirming production recovery after the install
Technicians pull up the inverter monitoring app on site to confirm each string is reporting normal output once the guard is fastened.
If a homeowner called because of a production dip, the final step of the visit is comparing that string's output against the rest of the array in real time, weather permitting. A string that was underperforming due to a chewed connector or debris buildup should show a measurable recovery within the same visit.
Where recovery is not immediate, technicians note whether Delta breeze cloud cover, panel angle or a separate inverter issue is responsible, since not every production gap is animal-related. This distinction protects Salida homeowners from paying for unnecessary electrical work when the real cause was seasonal Tule fog haze reducing output that morning near the Highway 99 corridor.
The visit closes with photo documentation of the finished guard, the wiring condition, and the production reading, giving the homeowner a dated record they can reference if any future issue arises on the same array.
Before the ladder comes down, our professionals check the corners where each module meets the racking, since those are the roosting and perch pockets squirrels and pigeons reopen first, and confirm no nest material remains packed against a stainless clip. The roof surface gets sanitized where droppings sat, and the guard's 5-year workmanship warranty is issued in writing on the same visit.