01
Getting On The Roof Safely In Salida
Access starts with a ladder placement and roof-condition check before any tools touch the array.
Every job starts on the ground with a walk of the property to find the safest ladder placement and confirm roof pitch, tile condition and any obstacles like satellite dishes or vent stacks. On the concrete tile roofs common through Pirrone Estates near ZIP 95368, that check matters because a cracked tile under a ladder foot turns a simple job into a repair.
Once on the roof, our professionals lay down padded walk boards on tile sections to distribute weight evenly and avoid cracking anything underfoot. Composition shingle roofs common on older Broadway Avenue tracts need less padding but still get the same care around valleys and flashing.
Weather timing matters here too. We avoid scheduling roof work during the thickest morning Tule fog in December and January because wet tile is slick, and we'd rather push a start time back an hour than rush a ladder placement. Delta breeze picking up by mid-morning across Stanislaus County usually clears that fog off Highway 99 corridors near Salida within an hour or two.
02
The Clamp Pattern We Follow On Salida Roofs
Clamps go along both long edges of every panel frame at a consistent spacing to prevent any sag point.
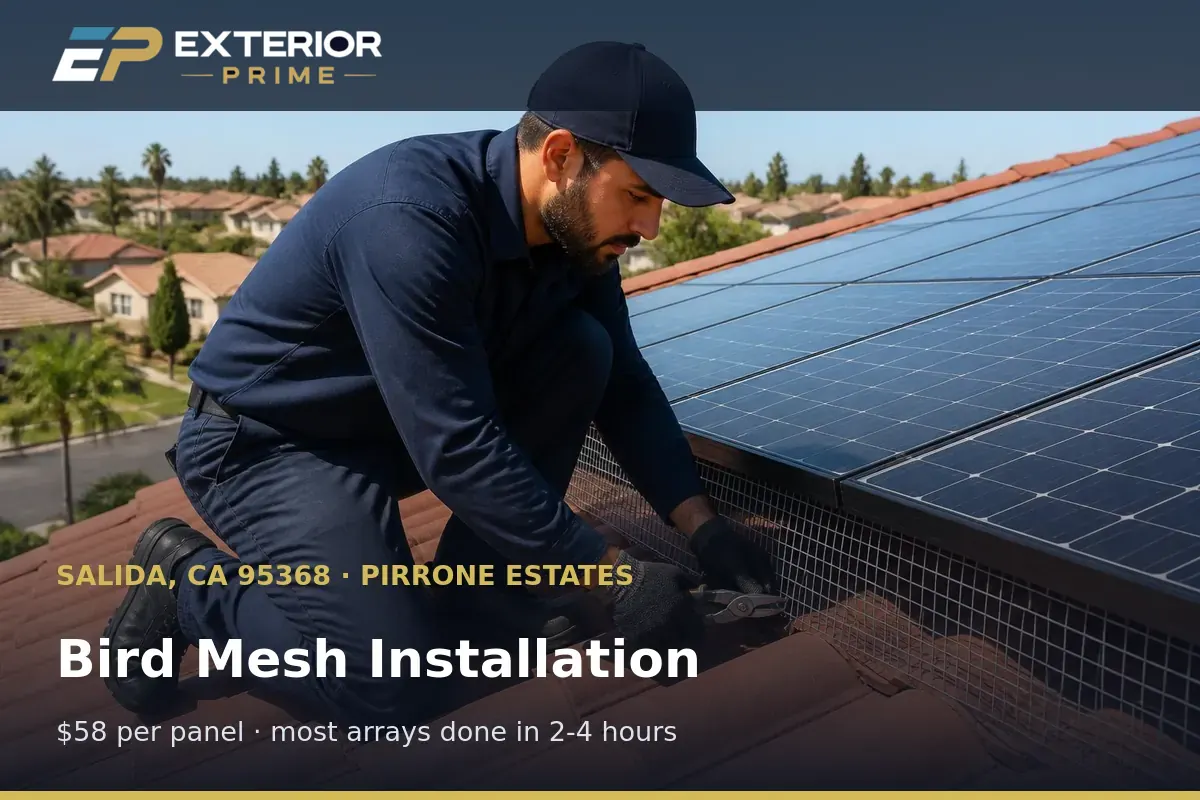
The clamp pattern isn't improvised panel to panel. We set spring clips along both long edges of each module frame at consistent intervals, typically closer together at corners where wind uplift is strongest, then work down the row so the mesh tension stays even across the whole array.
Skipping clamps to save time is the most common shortcut we see from other installers, and it's also the first thing that fails. A gap of even 8 or 10 inches between clips lets mesh sag enough for a pigeon to push under it, so our pattern doesn't leave gaps that wide anywhere on the perimeter, keeping soiling loss and hot-spot risk from climbing near junction boxes and bypass diodes.
On split-plane roofs, common in newer Sisk Ranch construction, we treat each plane as its own clamp run rather than trying to stretch one continuous piece of mesh across the ridge, which keeps tension consistent on both faces.
03
Does A No-Drill Install Really Protect My Warranty?
Nothing in our installation process penetrates the roof deck or the solar module frame at any point.
We guarantee that no drilling touches your roof deck or module frame during a mesh installation. Every attachment point is a spring-tension clamp that grips the aluminum frame edge mechanically, the same way the panel itself grips the mounting rail.
This matters most for warranty reasons. Most solar panel manufacturers explicitly void coverage if a third party drills into the frame or the racking system, exposing wiring near a microinverter or standoff, and Salida homeowners with retrofit systems installed since the mid-2010s often still have years of manufacturer coverage left worth protecting.
It also matters for roof warranties. A concrete tile or composition shingle roof warranty can be affected by unauthorized penetrations, so a no-drill approach protects two separate warranties with one installation method.
04
Warranty Paperwork At Handoff
You receive dated photos of every completed panel row and written workmanship warranty terms before we leave.
The job isn't finished when the last clamp closes. Before we pack up, our professionals photograph every completed row from a couple of angles so you have a dated record of the install condition, which is useful if you ever need to reference it for insurance or resale.
You also get written workmanship warranty terms covering the mesh and clamp hardware, separate from any manufacturer warranty on your solar equipment. That paperwork spells out what's covered if a clamp loosens or a seam opens under normal conditions.
We walk through that paperwork with you on-site rather than emailing it later, so any question about coverage terms gets answered while the ladder is still against the house and the work is fresh.