Hour One: Arrival and Access Setup Across Tracy
Our professionals begin every Tracy installation with a roof-access safety check that typically takes 30 to 45 minutes before any mesh work starts.
When we arrive at a home near West Valley Mall or in the quieter streets of Sunrise Park, the first task is never touching the panels. It's walking the property to identify the safest ladder placement, checking for underground irrigation lines, and confirming there's clear space away from driveways or delivery trucks common in Tracy's logistics-heavy neighborhoods.
During peak summer scheduling, we prioritize morning arrival slots because a concrete tile or composition shingle roof in Tracy can exceed 140°F by early afternoon in July, which is both a safety concern for our technicians and a risk to the shingles themselves under foot traffic.
Once on the roof, we photograph the array's condition before any work begins. This documentation protects you if there's ever a dispute about pre-existing wear, and it lets us confirm the panel count and perimeter footage we quoted actually matches what's on the roof.
For homes in Tracy Hills with steeper pitch roofs, we add fall-protection anchoring during this first hour, which takes slightly longer than a flat ranch-style roof near Downtown Tracy but is never skipped regardless of how routine the job looks.
Hours Two and Three: Clamp Spacing and Mesh Placement
Clamps are spaced roughly every 12 to 18 inches along the panel frame in Tracy installations to keep mesh taut against seasonal wind loads.
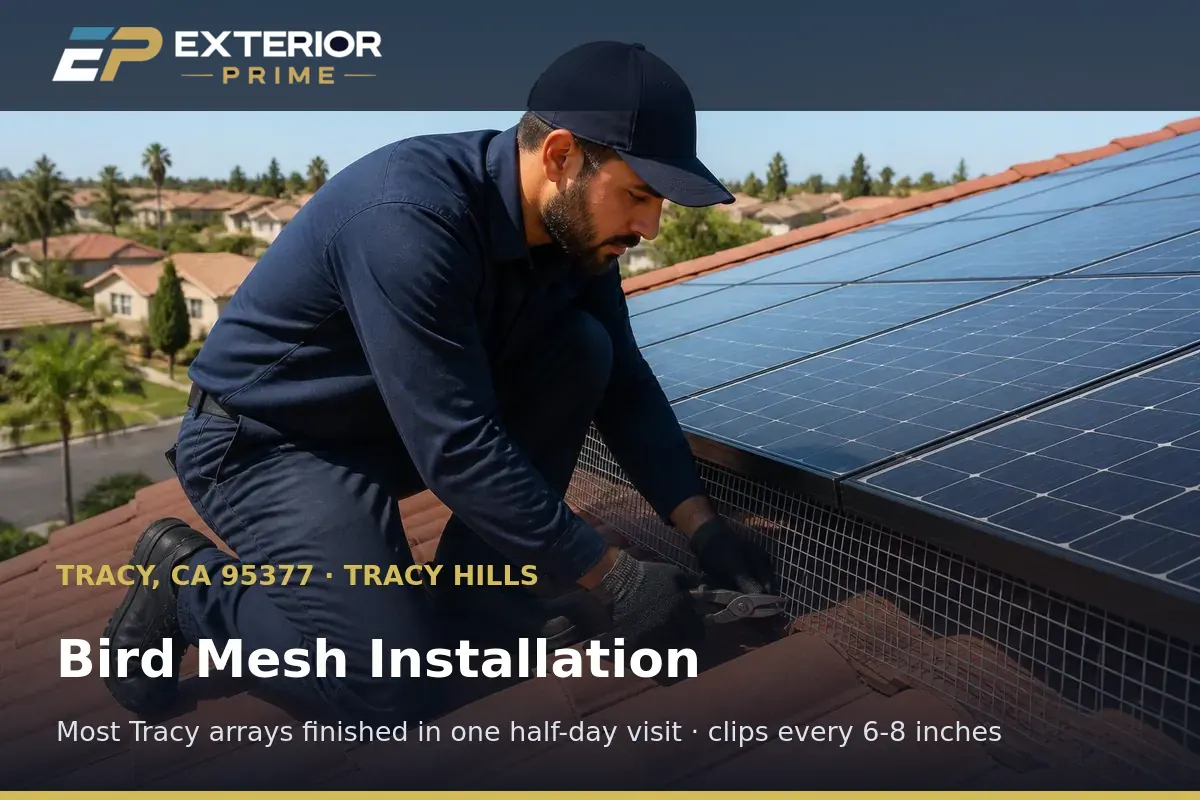
This is the core labor of the day. Our professionals unroll pre-cut mesh sections and begin clamping them to the aluminum panel frame, working methodically down one roof plane before moving to the next. On a typical single-plane Tracy roof, this phase runs about 90 minutes for a mid-size array.
Spacing matters more than most homeowners expect. Clamps set too far apart let the mesh sag within a season, especially given the gusting conditions that roll through from the Altamont Pass wind corridor. We tighten spacing near corners and low points where sag is most likely to start.
If your home has multiple roof planes, common in Edgewood and Berg Ranch two-story layouts, we complete one plane fully before moving equipment to the next rather than leaving a plane half-finished, which keeps the worksite organized and reduces the chance of a missed section.
Throughout this phase, we periodically step back and visually check the mesh line for consistency, since a wavy or unevenly tensioned mesh line is usually the first sign that a section needs re-clamping before it becomes a problem.
Hour Four: The Corner and Junction Check for Tracy Roofs
The final technical hour is spent specifically checking corners, conduit penetrations, and junction boxes, the three spots where gaps most commonly form.
Corners are where mesh sections meet, and a sloppy overlap is the single most common failure point we find when repairing other installers' work around Tracy. We overlap corner sections by at least two inches and double-clamp that overlap to prevent it from working loose.
Conduit runs and junction boxes present an odd-shaped obstacle that a straight mesh cut can't seal cleanly. Our professionals custom-trim mesh around these fittings and use additional small clips to close the gap, since this is exactly where we've found active nests during callback inspections in Kagehiro and Southside.
We also check the mesh where it meets the roofline edge, particularly on homes with concrete tile roofing, since gaps here are less visible from the ground but are a favorite entry point for pigeons looking for a low-disturbance nesting spot.
Only after this corner-by-corner check is complete do we consider the installation functionally finished, because a barrier that's 95 percent sealed still gives birds the one gap they need.
Hour Five: Cleanup and the Tracy Homeowner Walkthrough
Every Tracy installation ends with a ground-level walkthrough where we point out clamp locations and answer questions before we leave.
We sweep gutters and ground areas for any dropped clips, wire trimmings, or old debris that came down during the install. Tracy's row-crop-adjacent dust already accumulates fast enough without us adding to it, so we leave the property cleaner than we found it.
Before leaving, we walk you through what the finished mesh looks like from a few key vantage points around your yard, explaining generally where clamps sit and how the barrier follows your roofline. This is also when we answer any questions about the five-year workmanship guarantee.
We provide photo documentation of the completed work by email, which is useful if you ever need to reference the installation for a home sale disclosure or a future roofing project in Tracy.
Total time on-site for most Tracy homes runs three to five hours depending on array size and roof complexity, and we're transparent about that estimate before we ever schedule the appointment.
Why does solar panel bird mesh installation start at the siding line?
A 95378 solar panel bird mesh installation visit measures 112 feet of algae, screen and concrete edge around the array, then logs every mildew opening our professionals seal.
solar panel bird mesh installation on a 22-panel Edgewood roof takes about 18 minutes to map: 112 feet of algae edge, 14 photographs, a 87 psi soft wash rinse across the fascia and eave below, and Altamont Pass wind noted in the 95378 file.
Plaza Park and Berg Ranch arrays fail the same way — valley fog pushes grit under the concrete, San Joaquin County hardpan bakes gutter onto the oxidation and mildew, so Exterior Prime folds that rinse into one solar panel bird mesh installation appointment rather than a $297 second trip.
Exterior Prime records the 6-year workmanship history for 95378 and 95304 addresses, naming each screen gap, oxidation screen and gutter deposit; a 22-panel job at $58 per panel is $1276, with cleanup from $200.